zippered pouch tutorial
Sunday, 1 April 2012
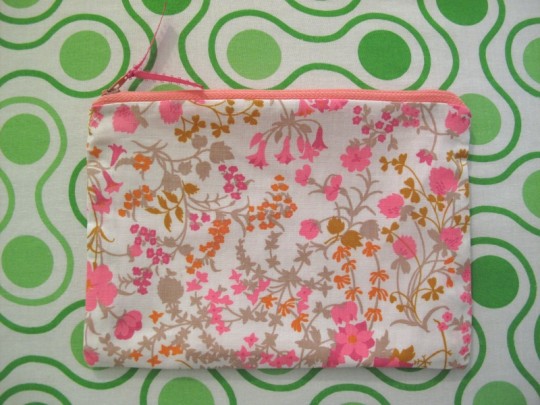
A friend gave me this awesome vintage-inspired fabric because she didn’t have a use for it. I’ve got a top for myself and a skirt for The Girl all cut out and ready to sew, but I decided to make something for her as a thank you. The pink lining fabric and the salmon colored zipper were both from my stash.
I’ve been making these lined pouches for years, and today it finally occurred to me the best way to do it. This requires no hand sewing at all, and gets you a pouch with no raw edges, and an exposed zipper. I really love it, and now that I’ve perfected my technique, I plan on making a lot more of these. You can, too! Are you ready?
Gather your supplies. You will need:
- fabric for both the outside of the bag, and the lining. You can choose any size you like.
- a zipper. Make sure your zipper is as long as the top edge of your finished bag.
- thread
- ribbon for zipper pull (optional)
- sewing machine, scissors, pins, iron and ironing board
Wash and press your fabric. Decide what dimensions you want your finished pouch to be, and add 1.25 inches. (For example, if you want your finished pouch 3 by 5, you would cut your fabric 4.25 by 6.25 inches.) Cut your outer fabric and lining fabric to the same dimensions. You can shorten a zipper to the proper size by zipping it up, stitching back and forth across the teeth where you want the zipper to end, then cutting off the excess.
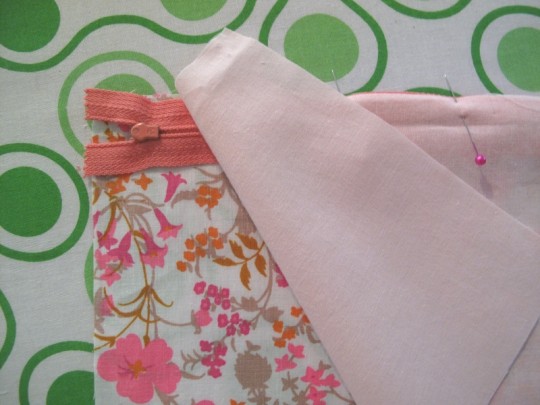
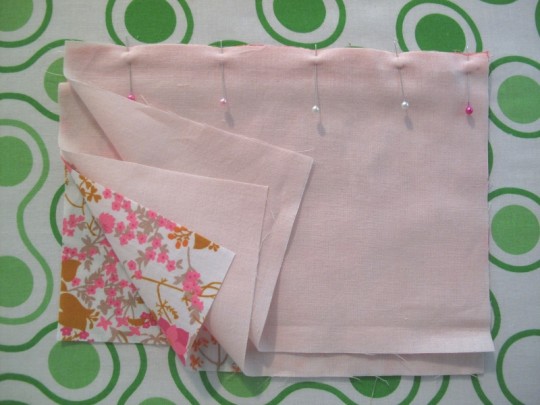
We’re going to start by sewing one side of the zipper. Place one piece of outer fabric right side up, place the zipper (closed) right side down on top of that, and the lining right side down on top of the zipper. Line up the top edges of each, and pin.
Sew across this edge, at a 0.25 inch seam allowance, removing pins as you come to them. You can use your zipper foot if you have one. I stitch this twice for extra strength.
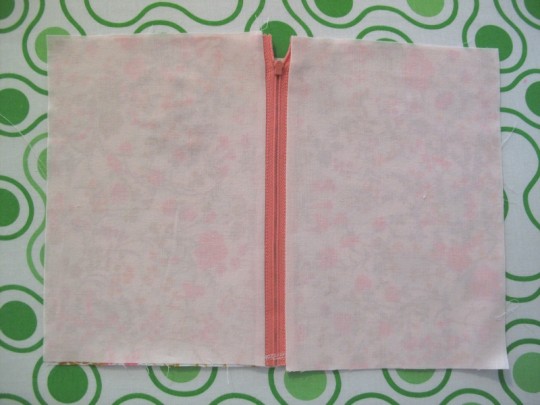
Open this seam, with the zipper pointing up and the fabrics pointing down. Press.
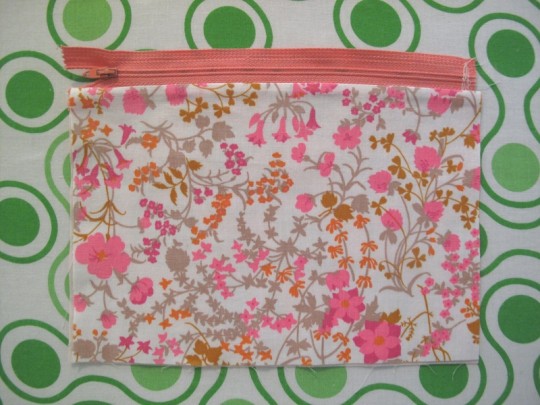
Now we are going to sew the other side of the zipper. This is done in the same way as before. Place one piece of outer fabric right side up, place the other side of the zipper (closed) right side down on top of that, and the lining right side down on top of the zipper. Line up the top edges of each, and pin. (This part is a bit tricky, but you basically ignore the fabrics that you just sewed, and sandwich the new fabrics together as before.)
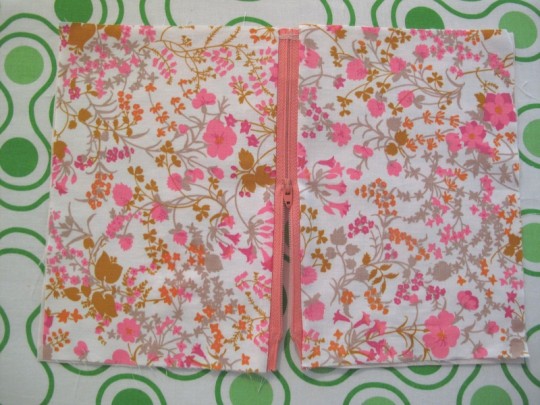
Stitch twice, open and press.
Open zipper half way.
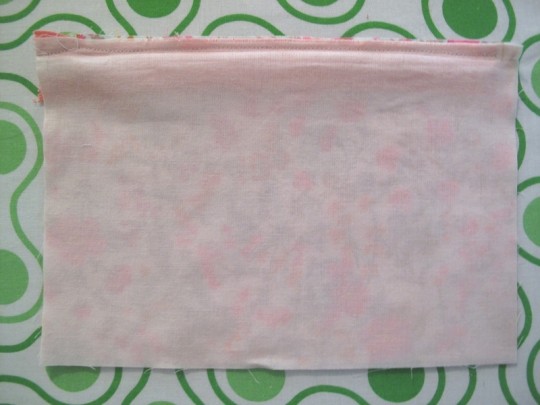
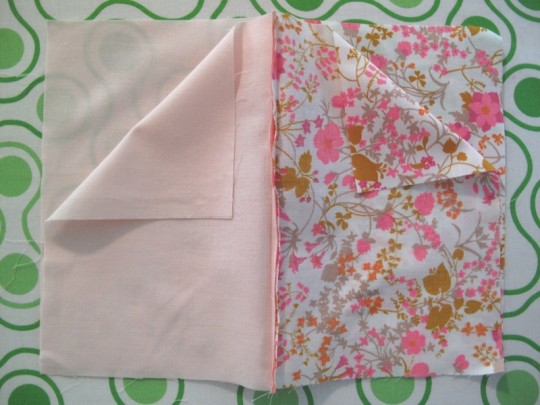
Flip the outer pieces (right sides) together and the lining pieces (right sides) together.
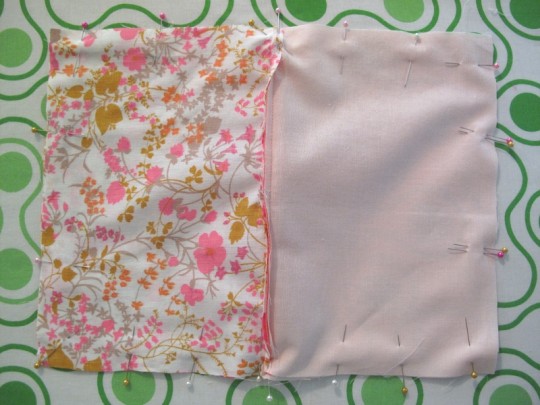
Lining up the fabric edges, pin all the way around. Pull and press the zipper tape toward the lining. When you sew, you are going to leave a 2 or 3 inch gap in the bottom edge of the lining fabric, for turning the bag the right way. I usually double pin at the gap, to remind myself to begin and stop there.
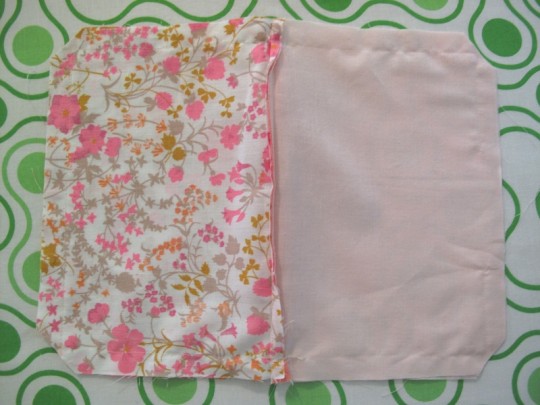
Sew all the way around at a 5/8 inch seam allowance. When you get to the zipper, be sure to press the seams and the zipper toward the lining. Also be sure that you leave the gap at the bottom edge of the lining open. After stitching, clip the corners, close to the seam.
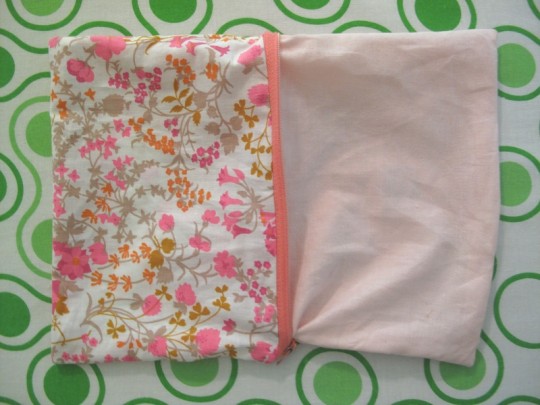
Turn the bag the right way out through the hole in the lining bottom edge. Huzzah! It’s starting to look like a bag!
Now you’re going to sew that hole shut. Fold the raw fabric edges in (if they aren’t already), line up the folded edges, press, and pin. Sew close to the edge, making sure you get both front and back layers.
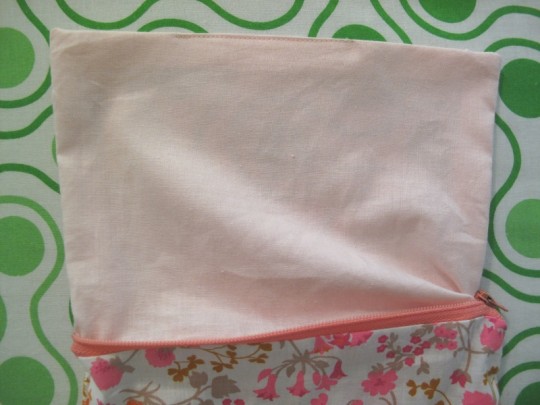
Tuck the lining into the outer bag and press. Add a little ribbon to your zipper pull if you’d like.
Hooray! You made a bag!


No. 1 — May 16th, 2012 at 8:52 am
I was just researching zipper tutorials on ‘Sew Mama Sew’ last night and thinking….none of these make sense to my “never done a zipper” mind. Yours is SO clear and I finally get it…..I will be making one, or maybe a few, tonight. Thanks so much!!!
No. 2 — June 11th, 2012 at 12:04 am
Thank-you for sharing your knowledge! I made a lovely little bag for my daughter’s first ballet recital today… only because you took the time to put together this tutorial. Thank-you.